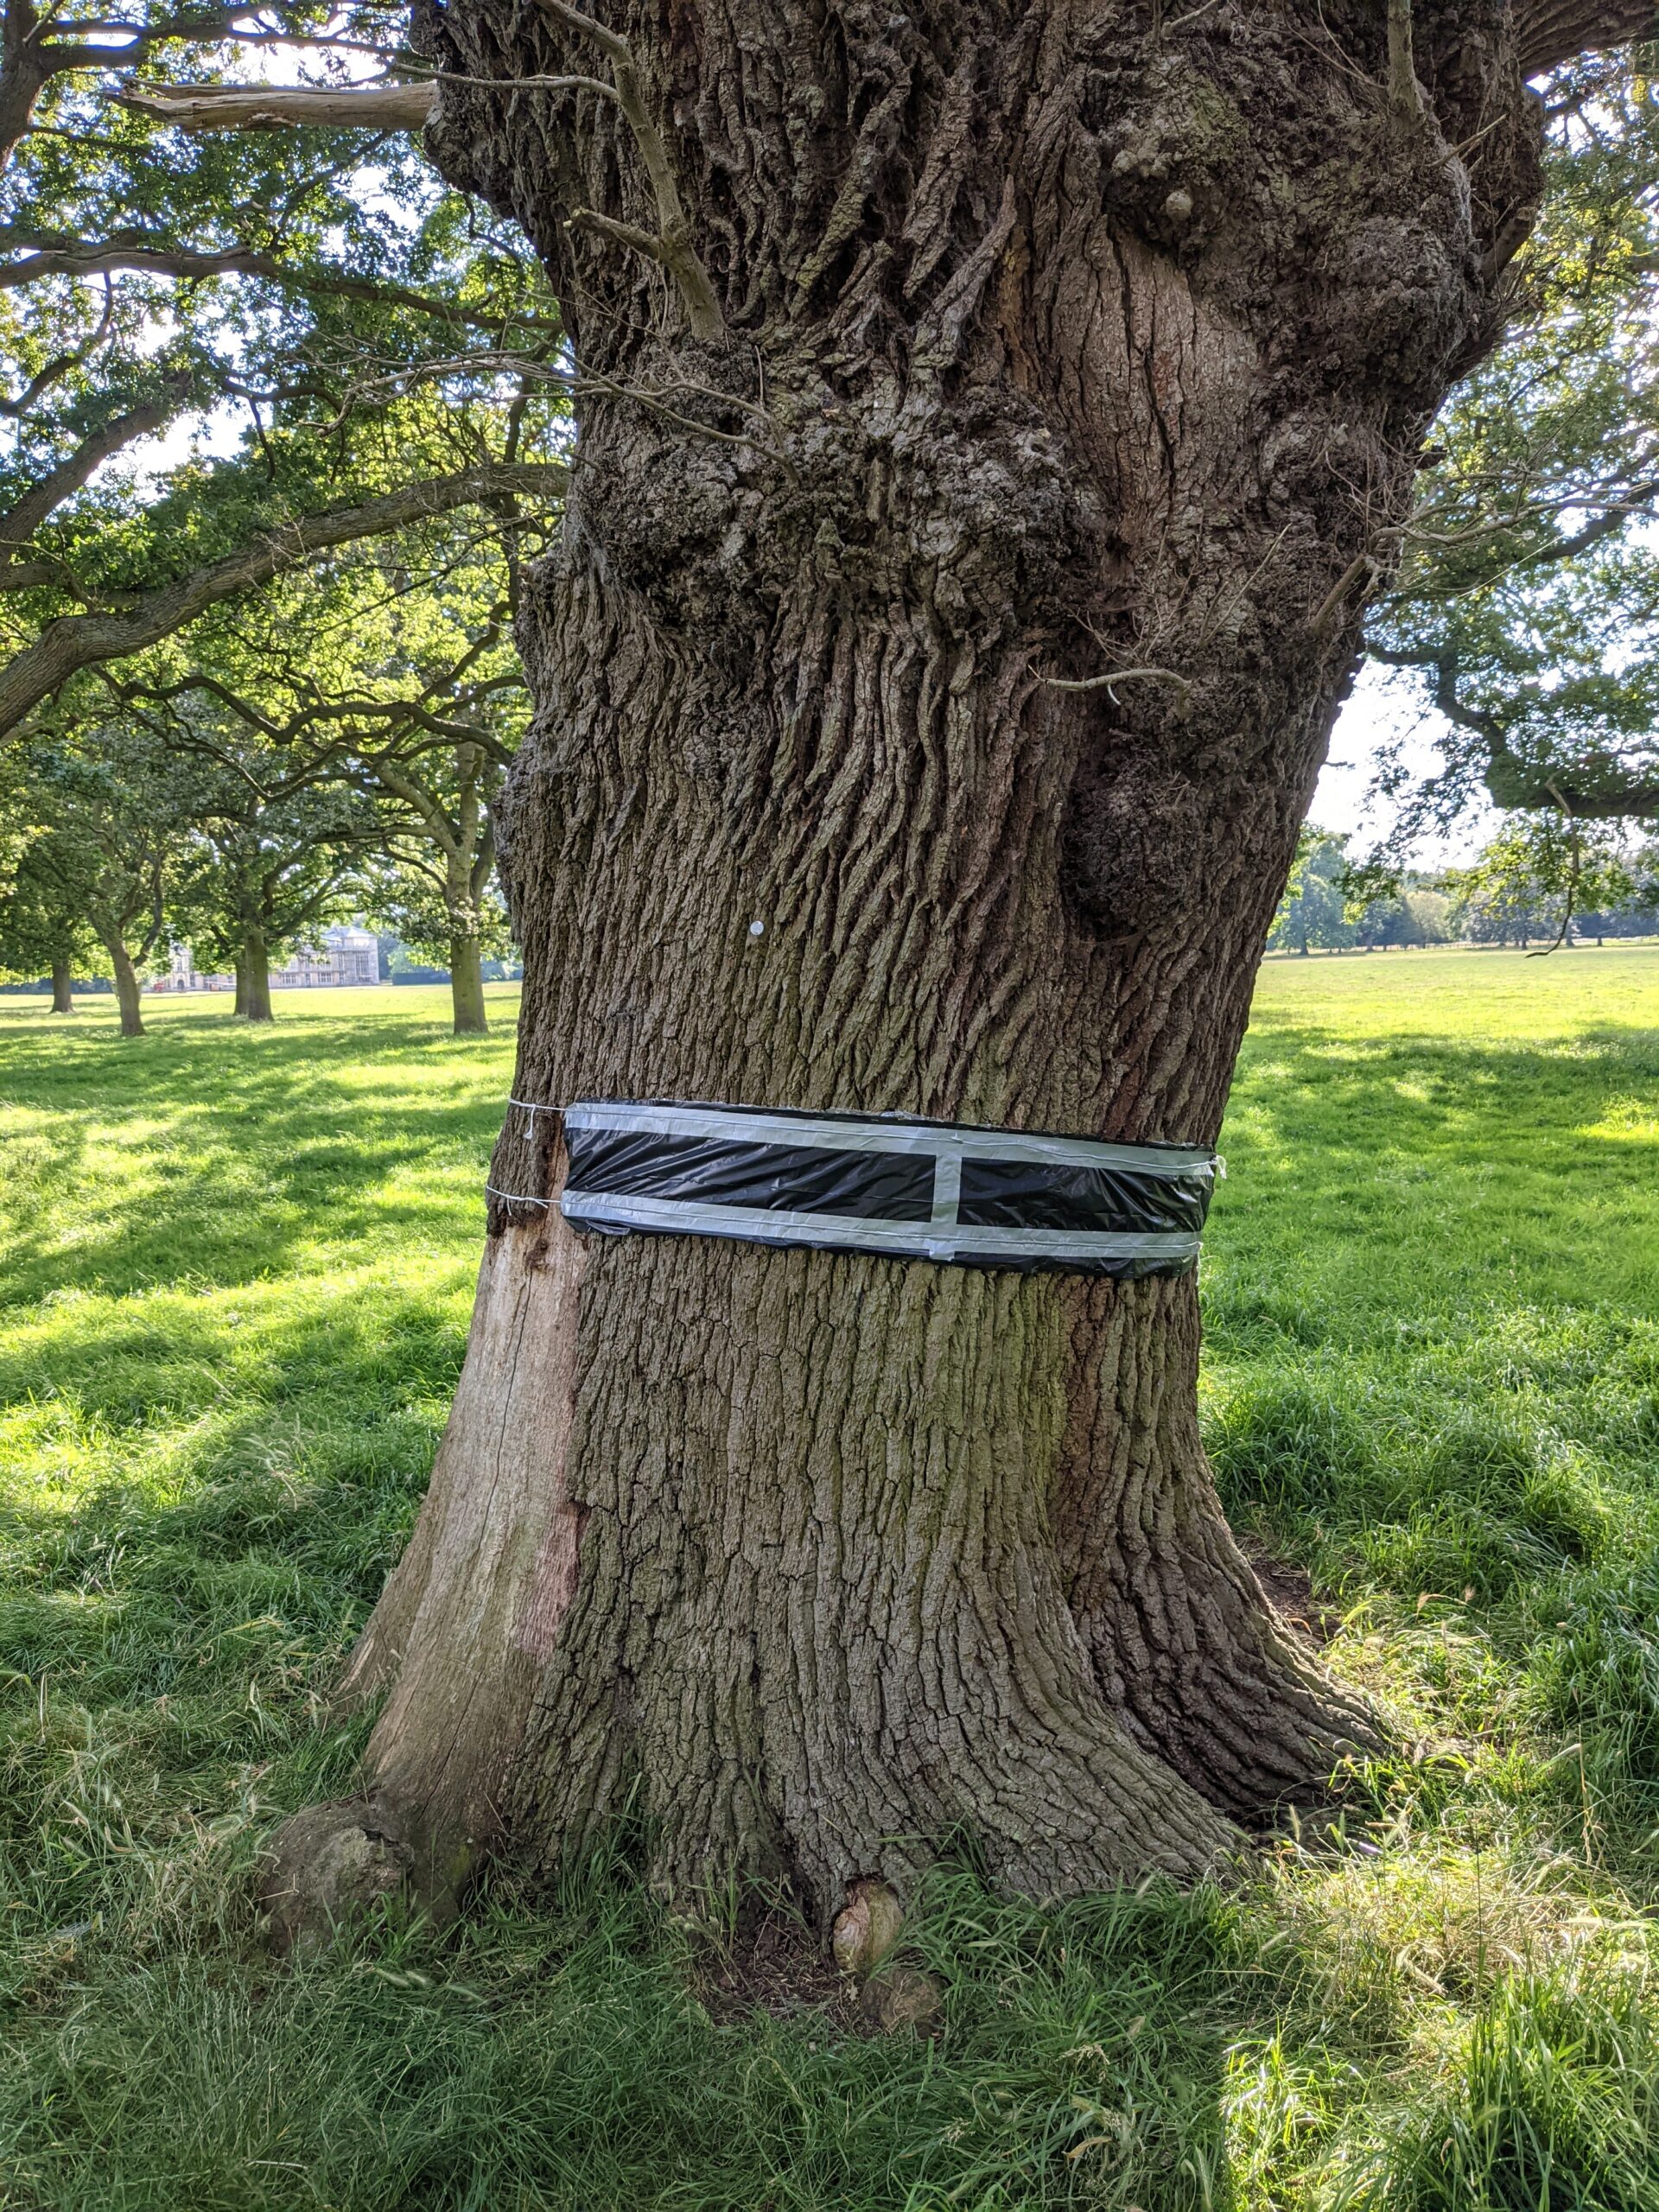
Simple to make and possibly an under utilised survey method. Here’s a guide on how to make one (actually two).
A bark trap is probably one of the easiest pieces of equipment you can put together yourself. You could use an even simpler design to the one shown, with fewer materials, and it might be equally effective. This is just my take on it. The black plastic reduces light whilst the bubble wrap goes against the tree bark and its uneven surface provides space for invertebrates to crawl under. Very simple, but I’ve found them great for pseudoscorpions, spiders, beetles and snakefly larvae, and they’re particularly useful if you’re taking photos and not collecting. Be careful if the tree is very exposed, as the black plastic could get too hot.
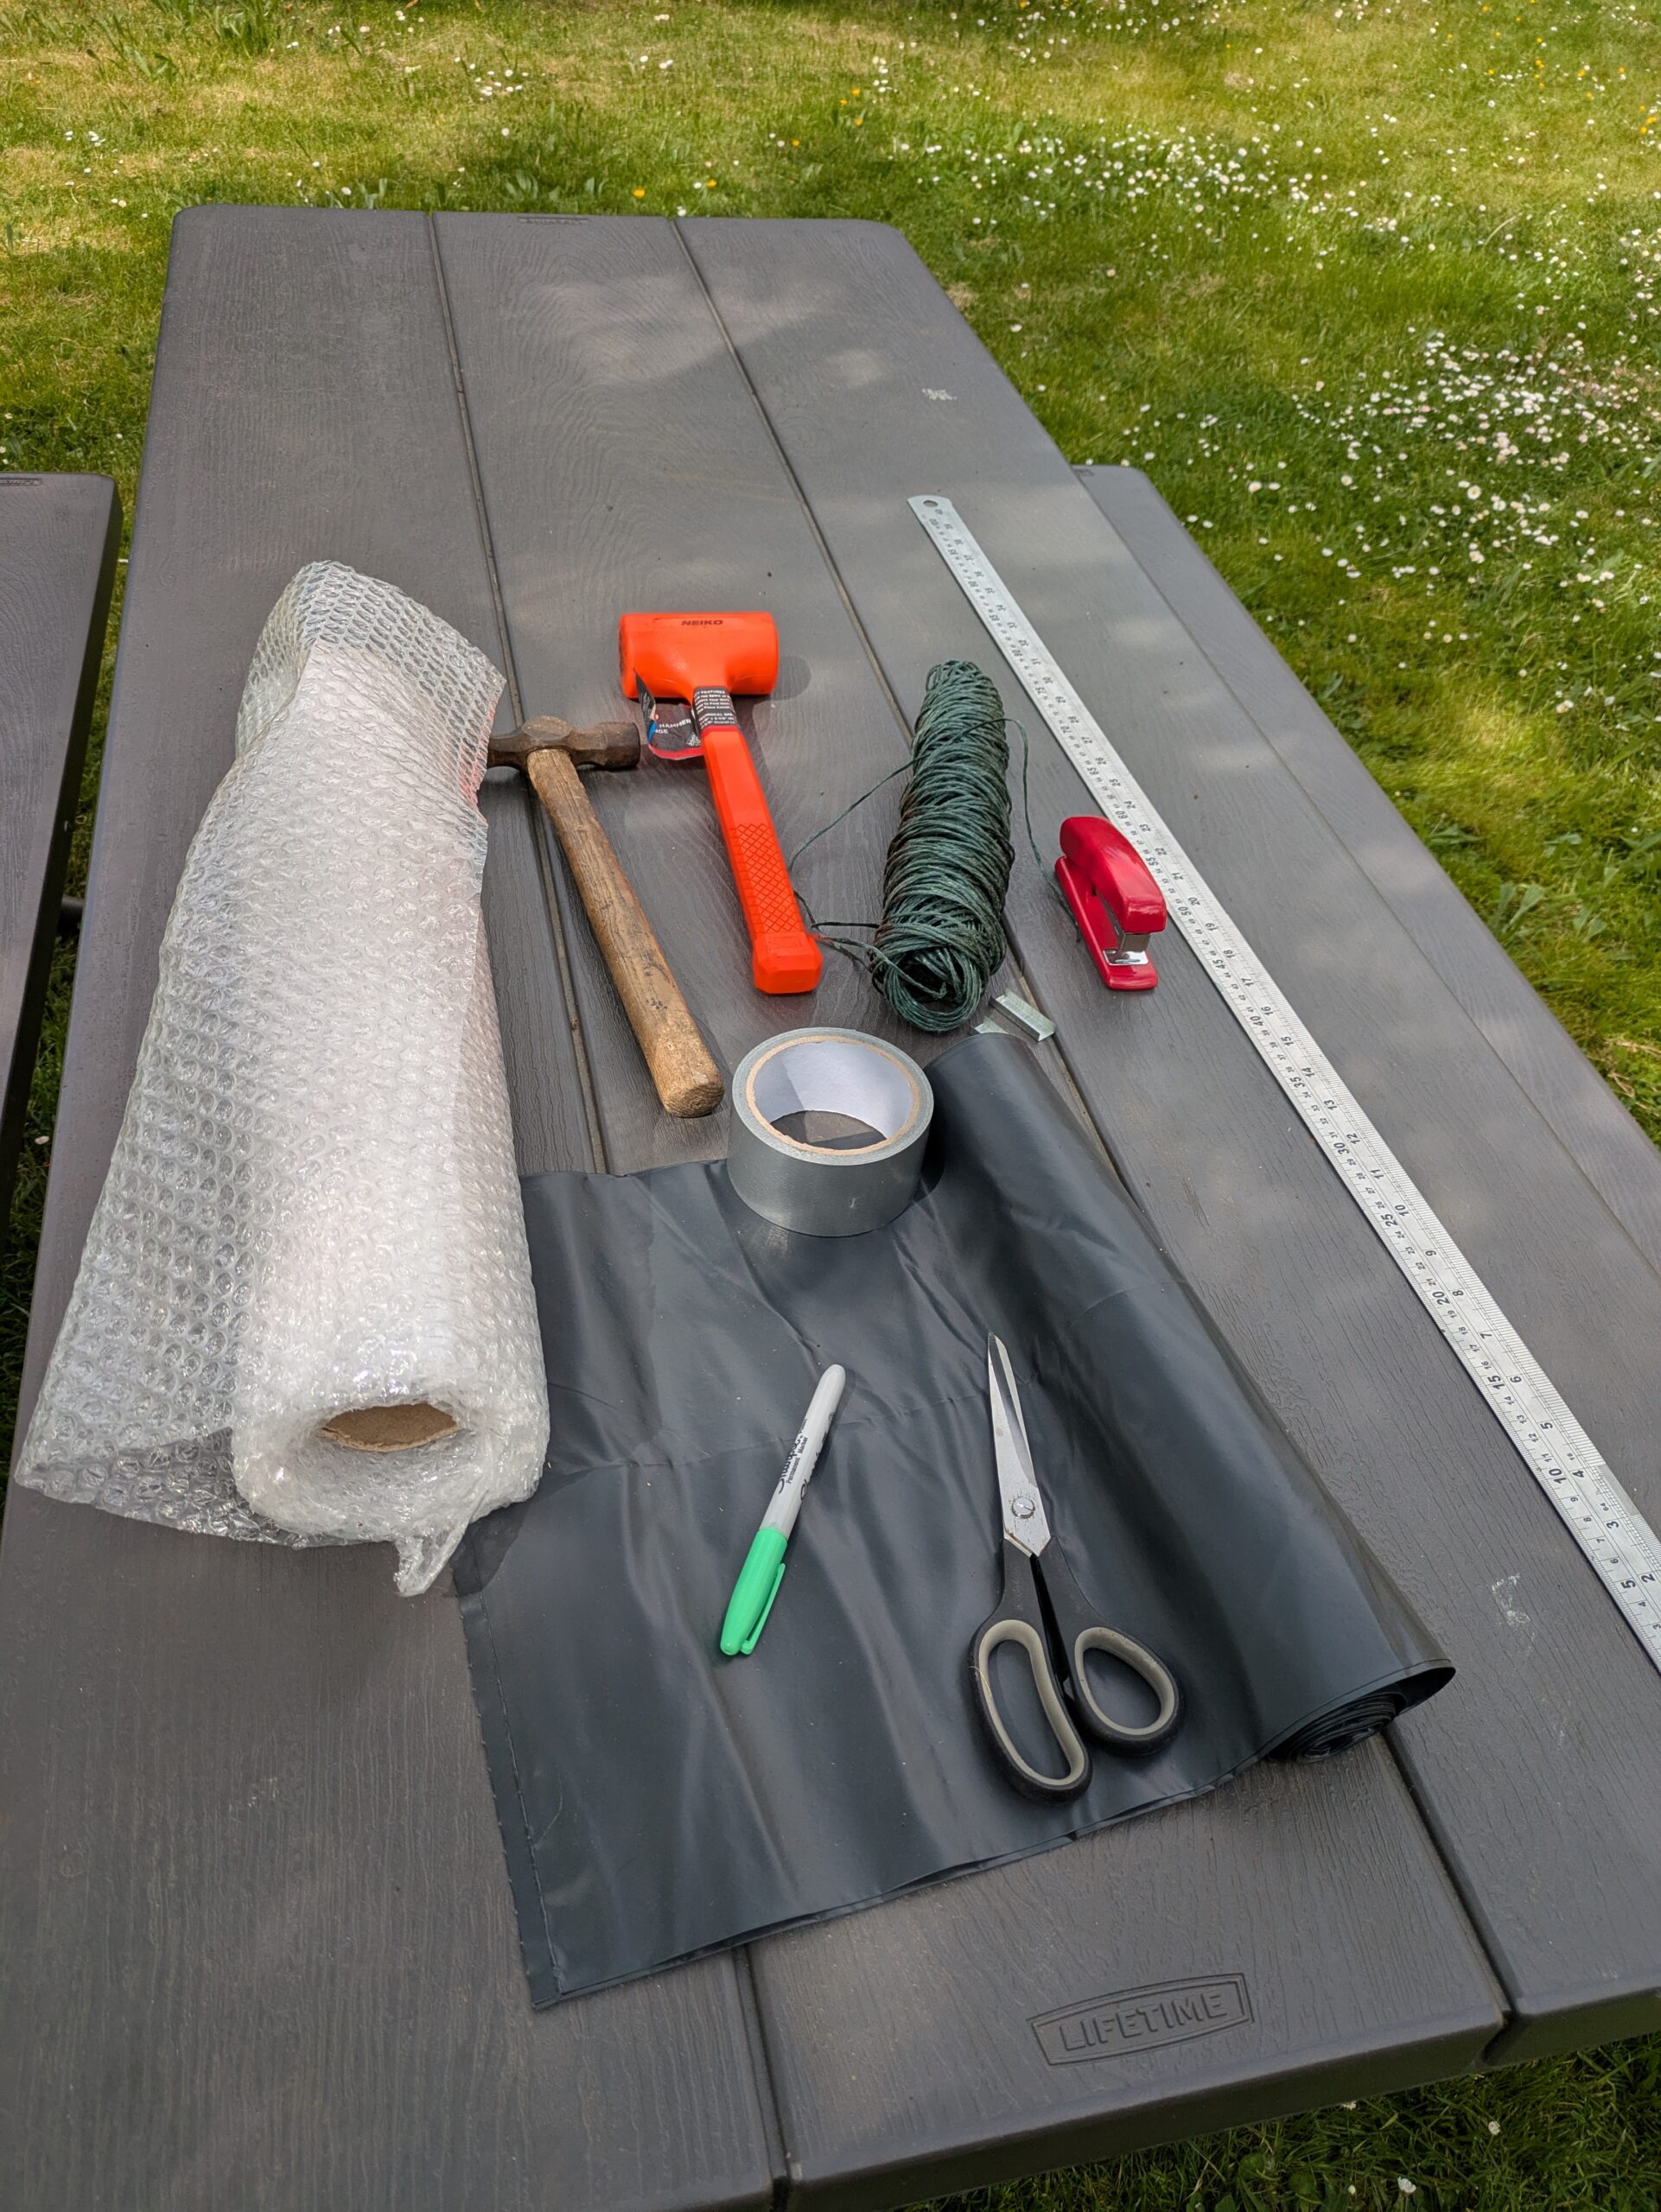
List of materials and equipment (note – this makes 2 bark traps)
- 2 x heavy-duty rubble sacks (70L) from B&Q
- Bubble wrap, 50 cm wide, length >250 cm
- Garden twine
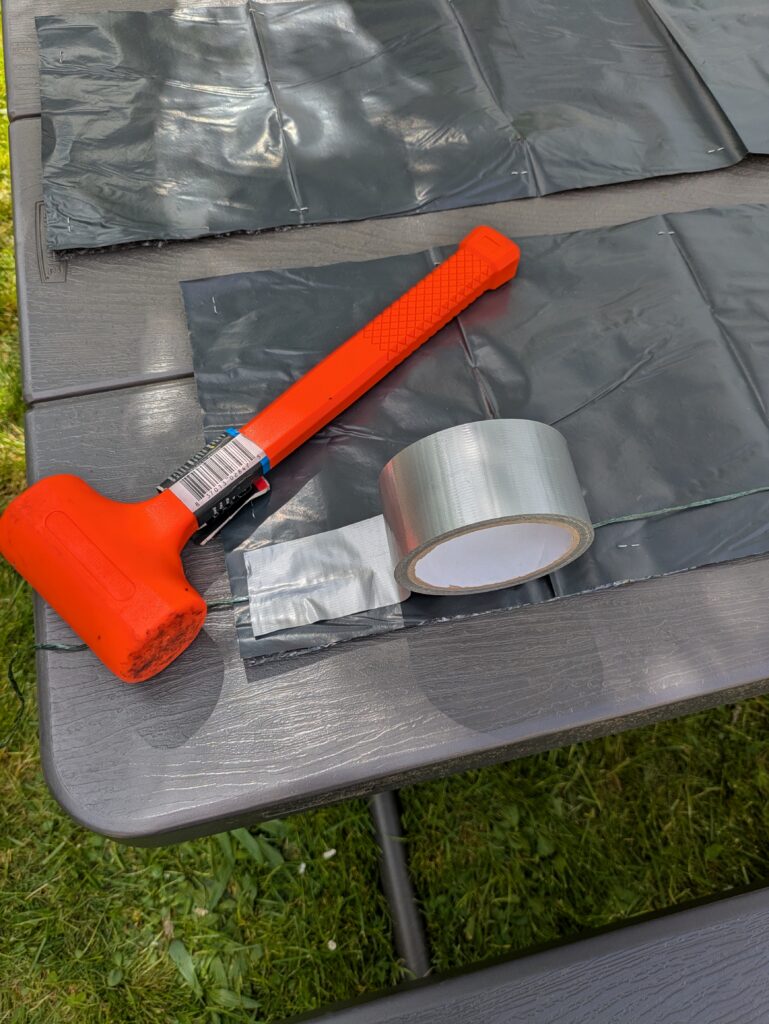
- Duct tape
- Stapler and staples
- 1 m ruler or tape measure
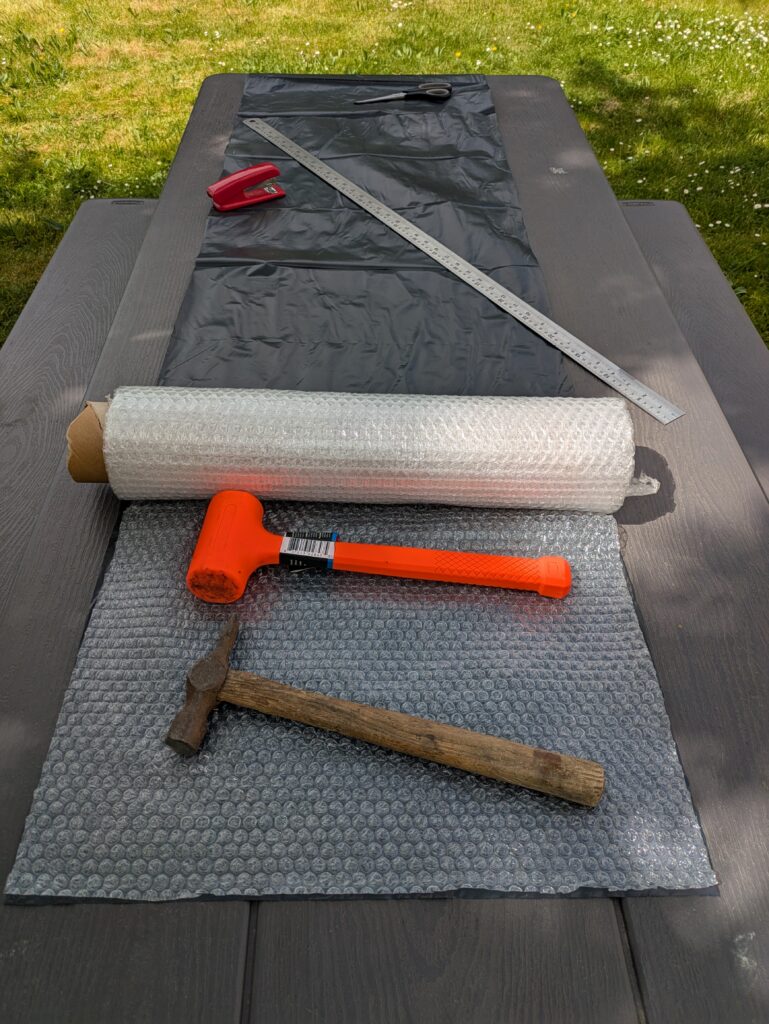
- Some heavy items to prevent if from taking off in the wind if you’re outside – I used some hammers
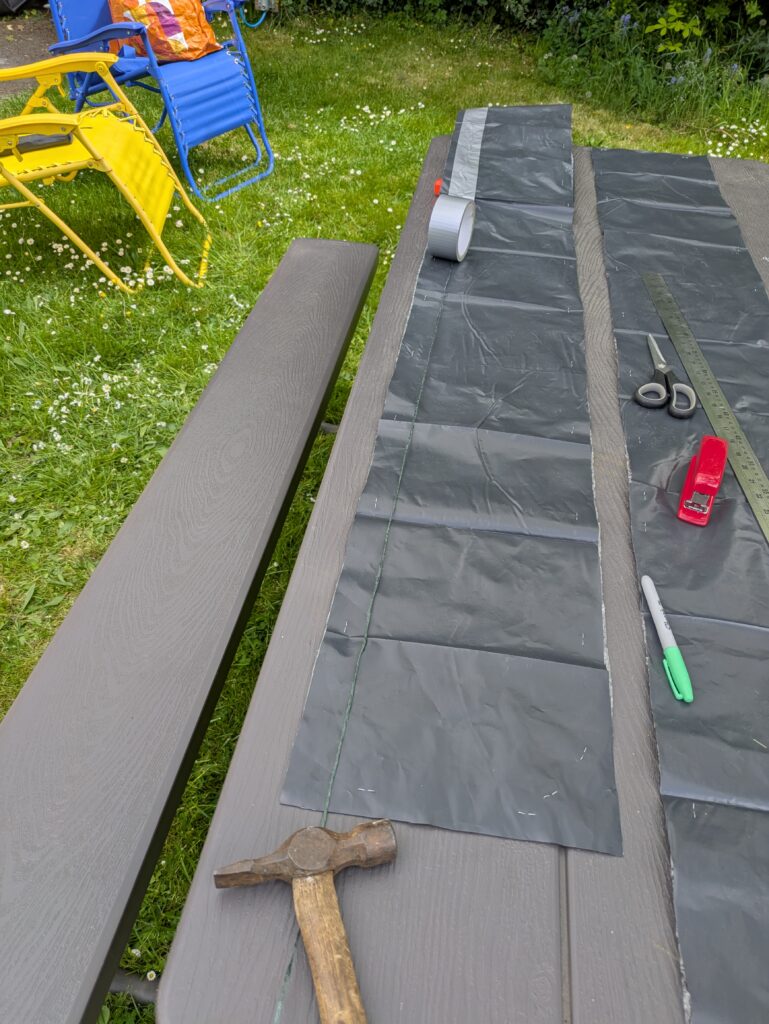
Materials below.
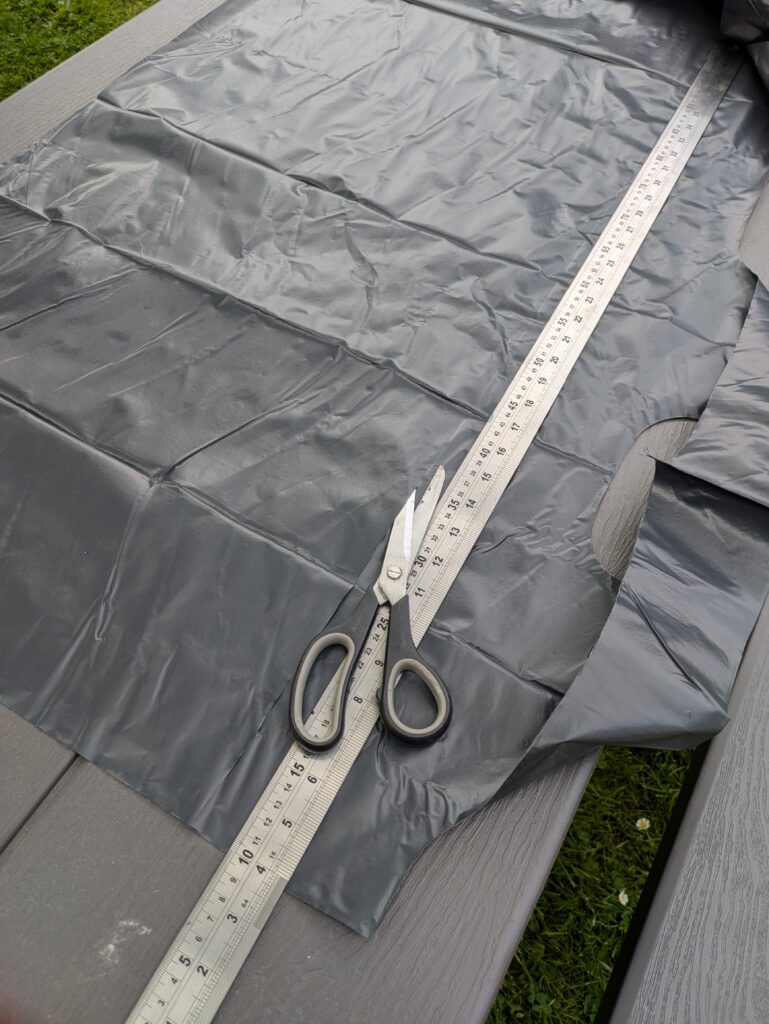
Lay out the rubble sack and cut off the bottom just above the seam.
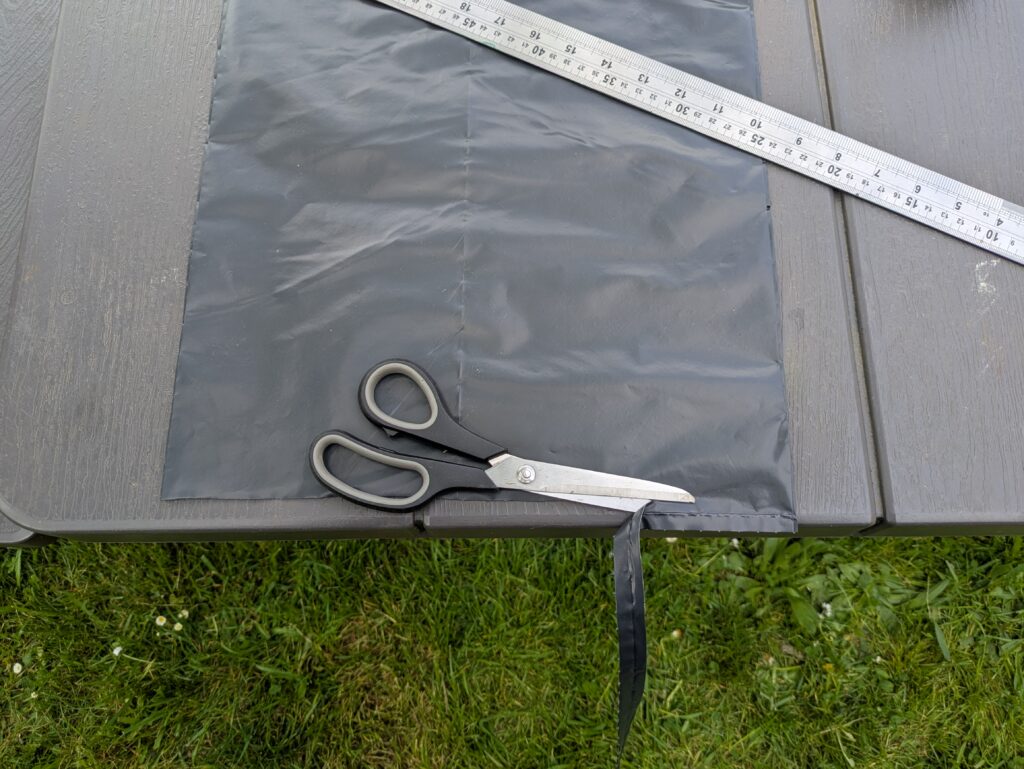
The bag will then be a big tube. Cut down one of the vertical creases – it doesn’t matter which one – open it out and lay it down flat on the table.
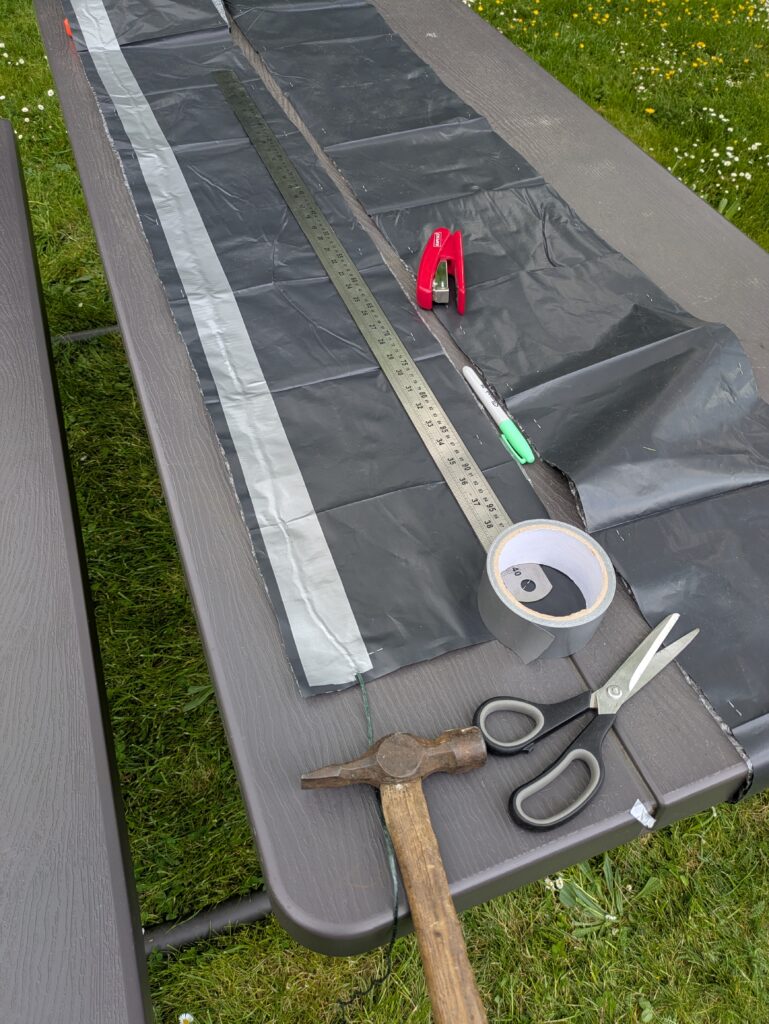
You now need to cut off the handles. As the bubble wrap is 50 cm wide, you need to cut the rubble sack to the same width. From the ‘handleless side’, measure 50 cm wide and mark this width at points along the plastic. Using a metre rule or something long and straight, join the marks and cut along this line, then discard the excess plastic with the handles.
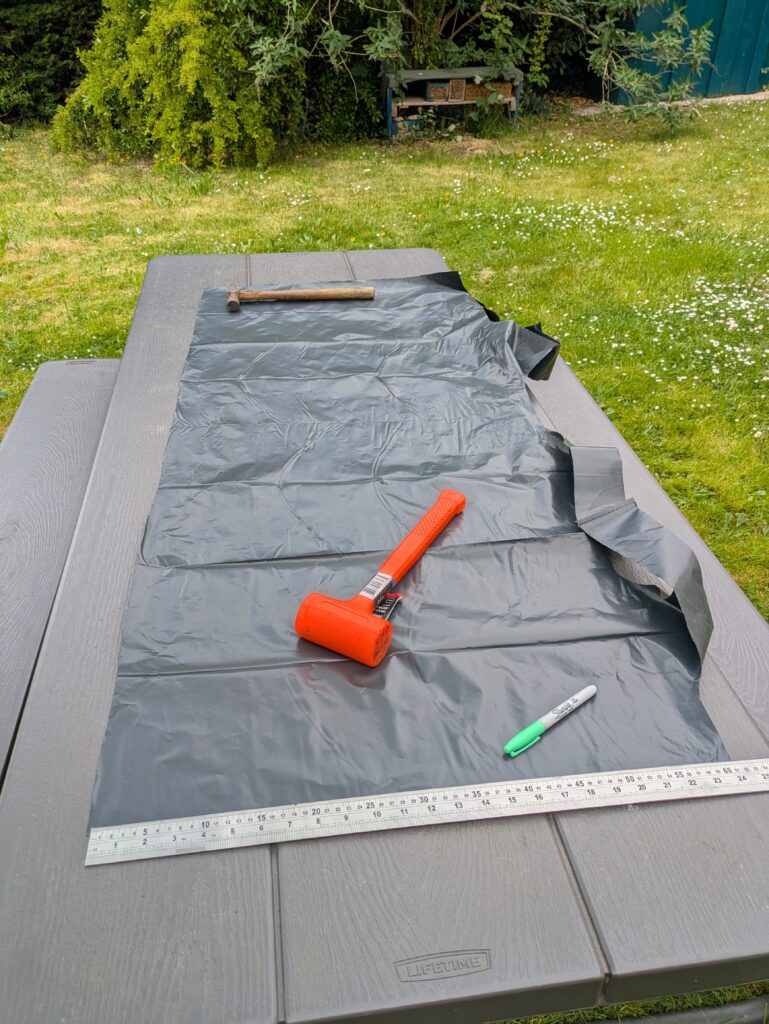
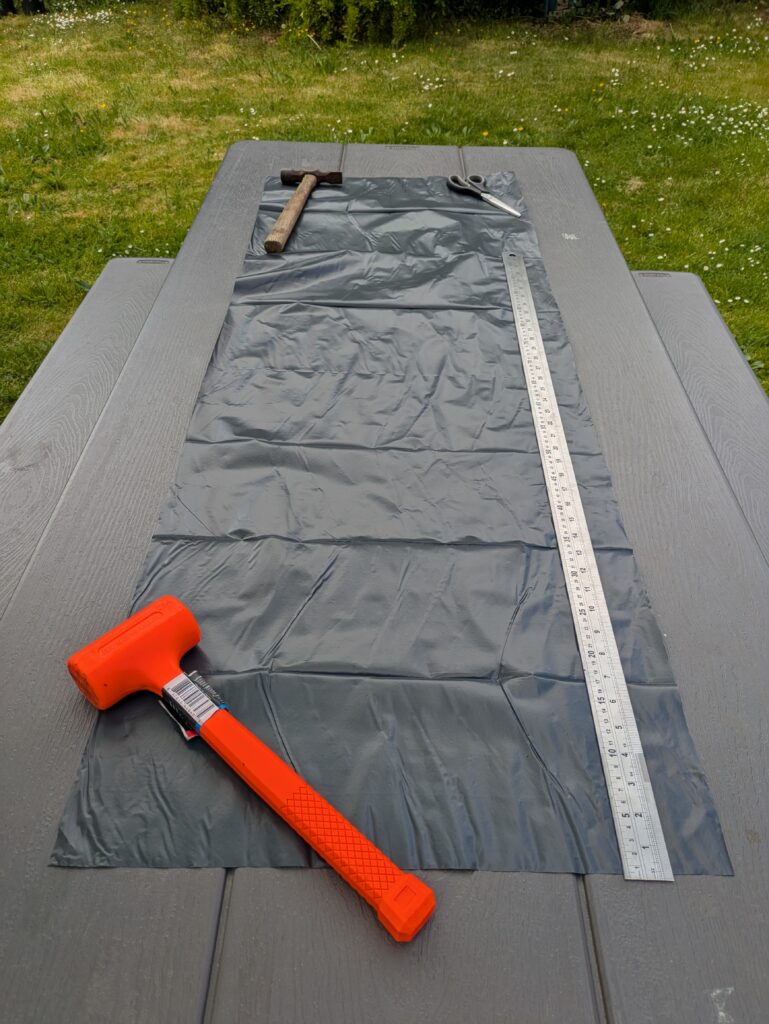
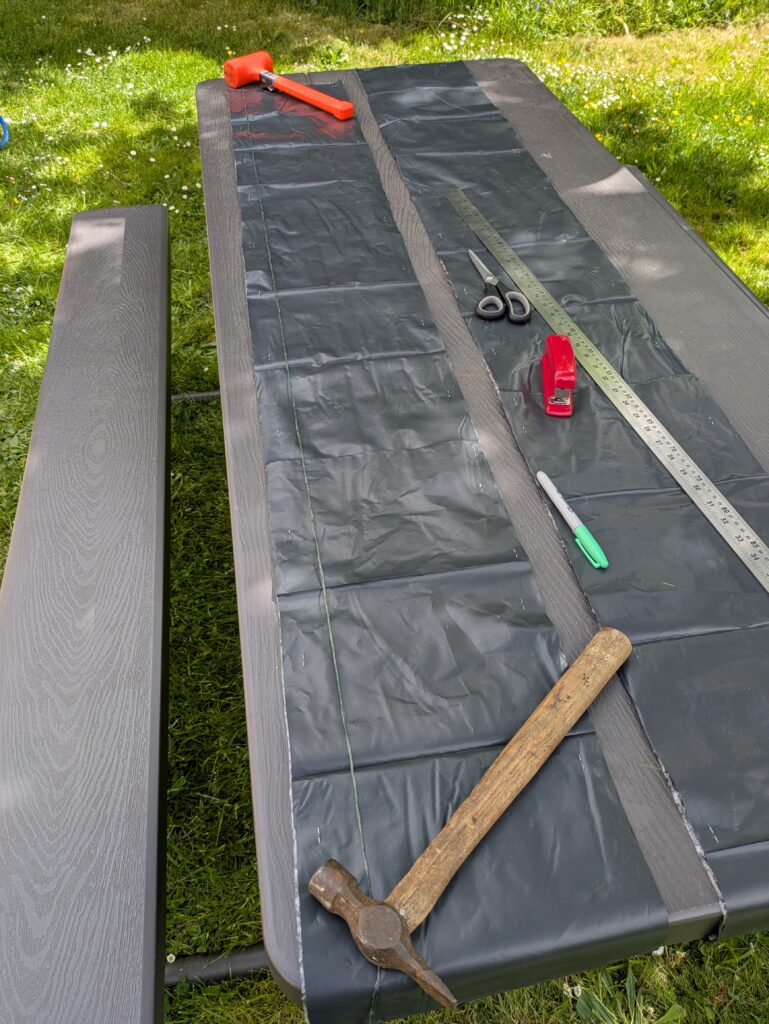
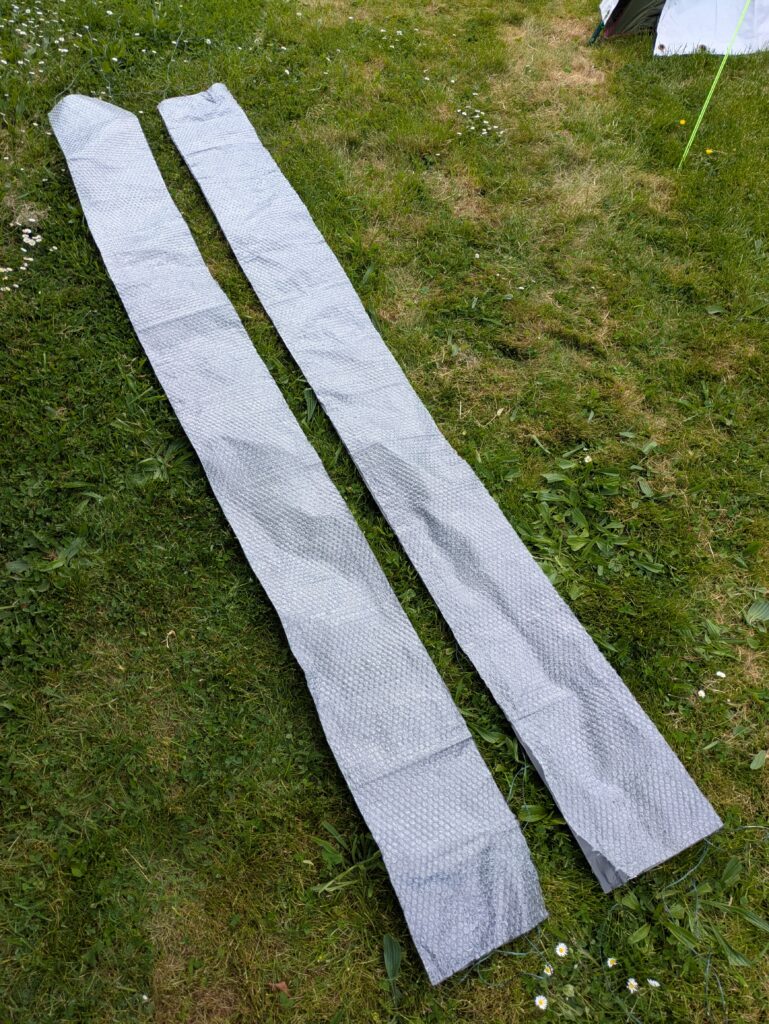
You’ll now be left with a nice 50 cm strip of plastic. I picked a particularly windy day, hence the hammers stopping it from flying away. Now repeat the same steps with another rubble sack so you get two 50 cm wide plastic strips.
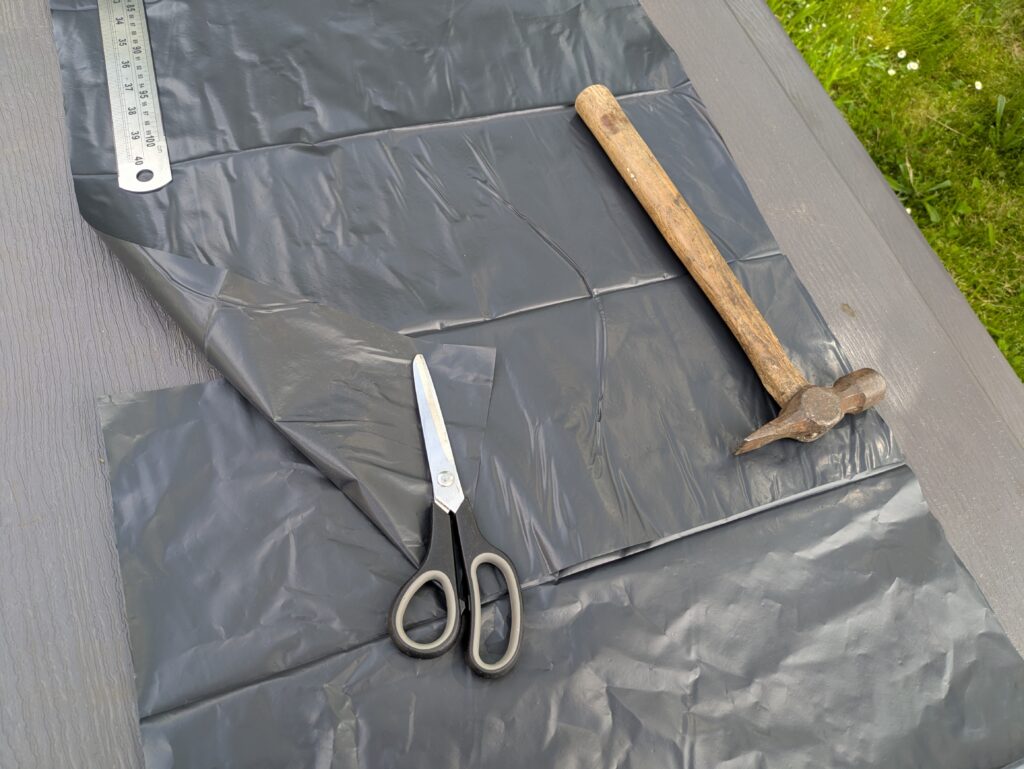
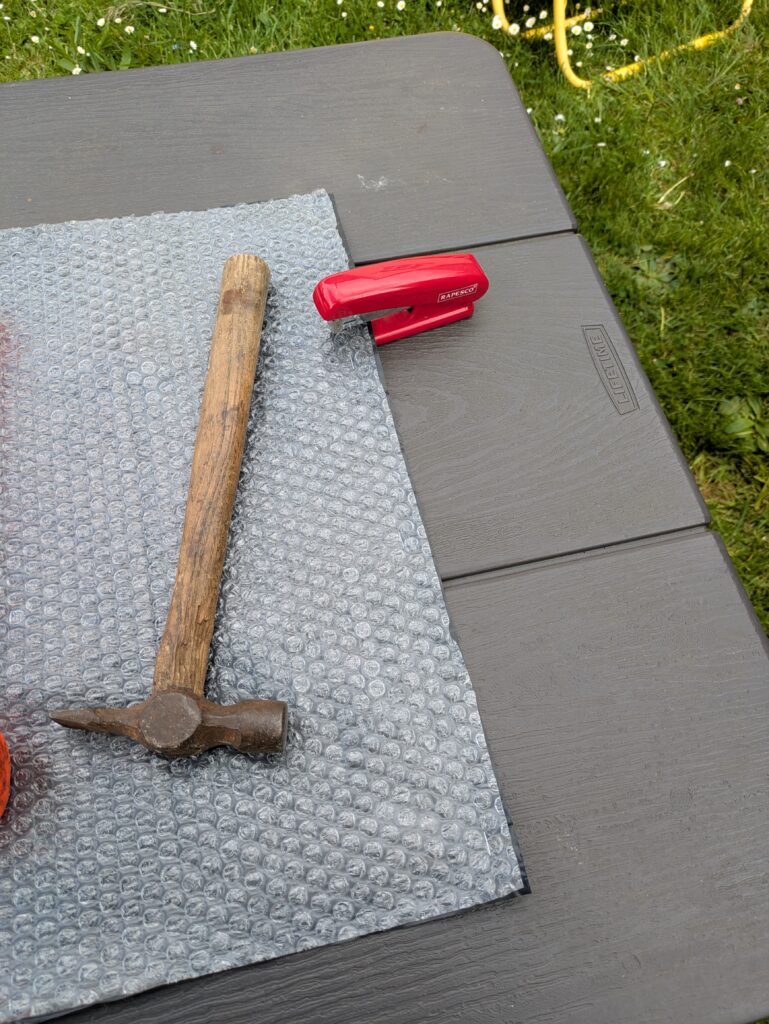
Place your strips end to end and then overlap them. Because it was a convenient guide, I overlapped the ends by the width of one of the creases, which I think was about 20 cm. In the photo, I’ve lifted the corner of one of the strips so you can see the overlap.
Now, on each side, staple the two strips together along the overlap. I just put a couple of staples along the edge (I’ll tape it later).
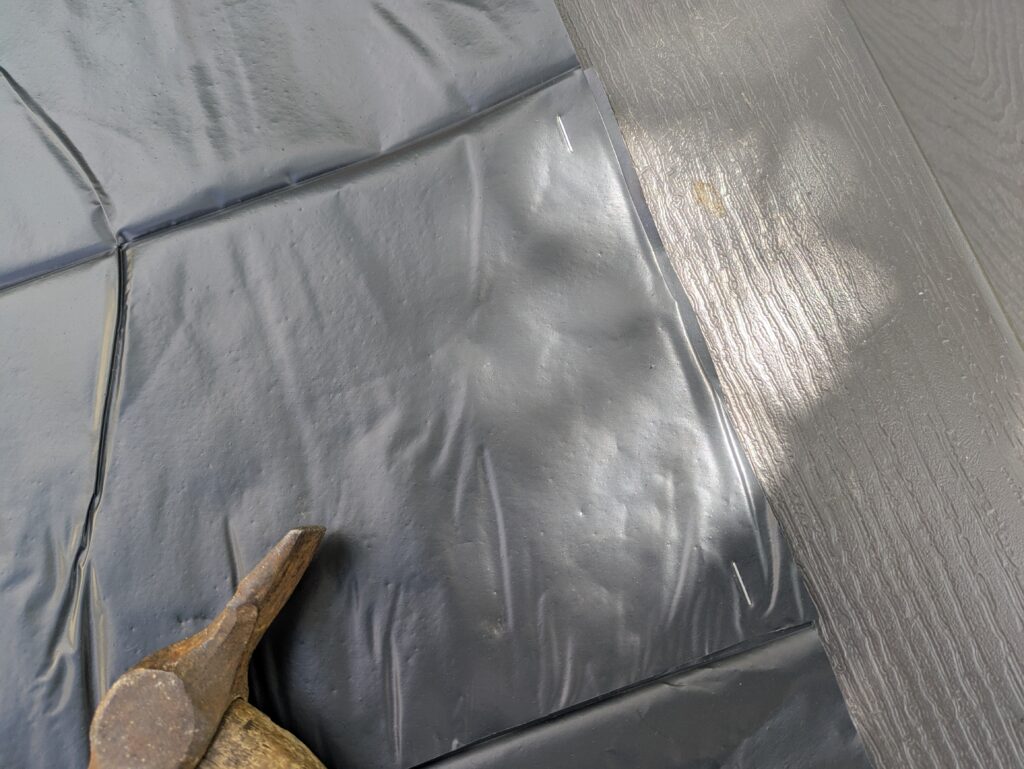
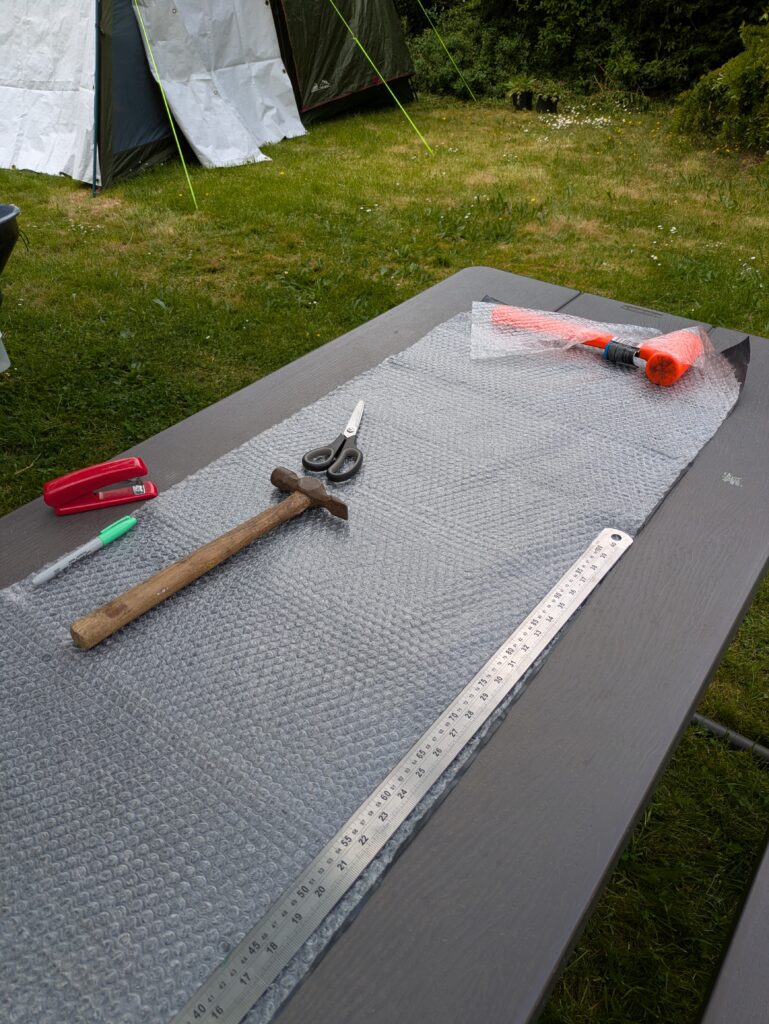
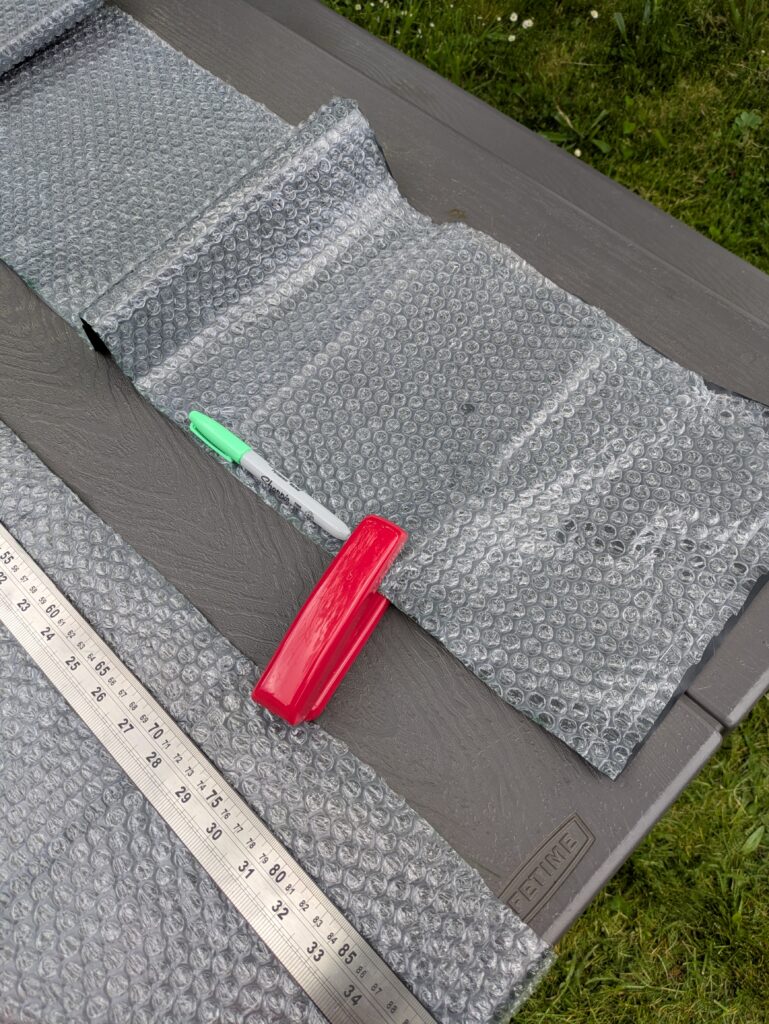
Now lay the bubble wrap over the plastic and staple the bubble wrap to the plastic along the front edge – I put in four staples about 1 cm from the edge.
Now simply staple the bubble wrap to the plastic along the sides in the same manner. I spaced the staples out by the length of a sharpy marker, which is about 13 cm. If you’re using a roll of bubble wrap, cut it to the same length as the plastic sheet at the end, and staple as before. Note it was far too long for the table, but I moved it along the table as needed.
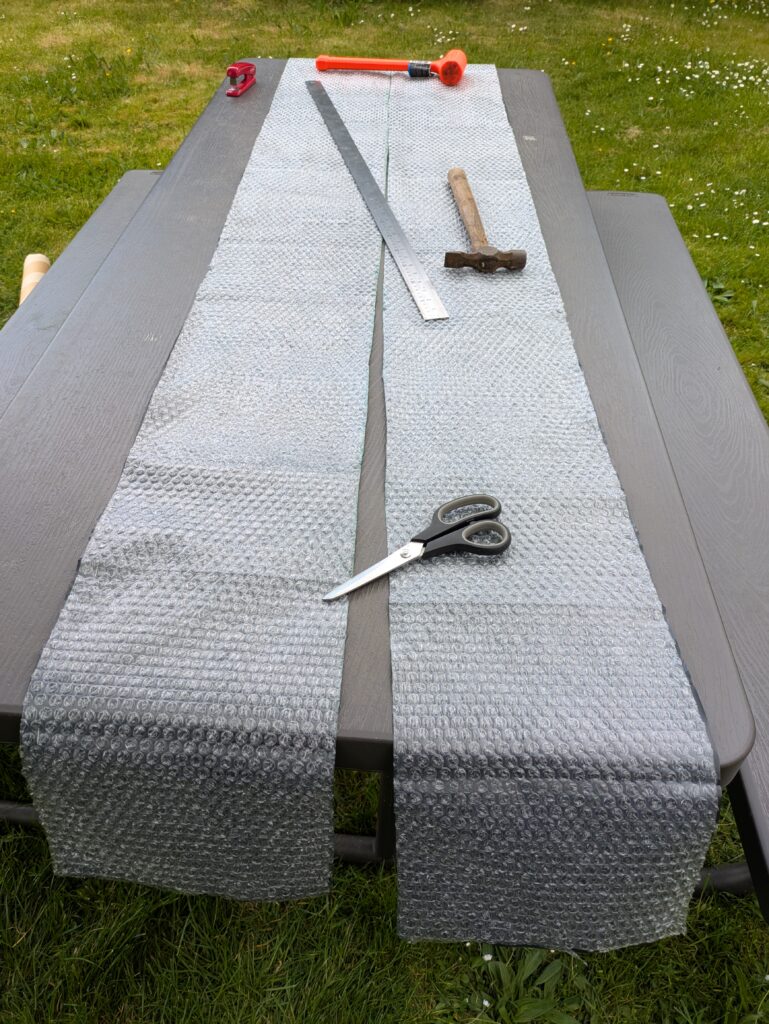
A 50 cm wide bark trap is a bit excessive, so now we’ll cut the strip in half lengthways to make two bark traps. Make marks half the width, i.e. 25 cm, down the length of the strip, draw a line between the marks and cut the strip in half along the line.
Now staple closed the edged you’ve just cut. Again, I used a sharpy marker as a guide to space the staples.
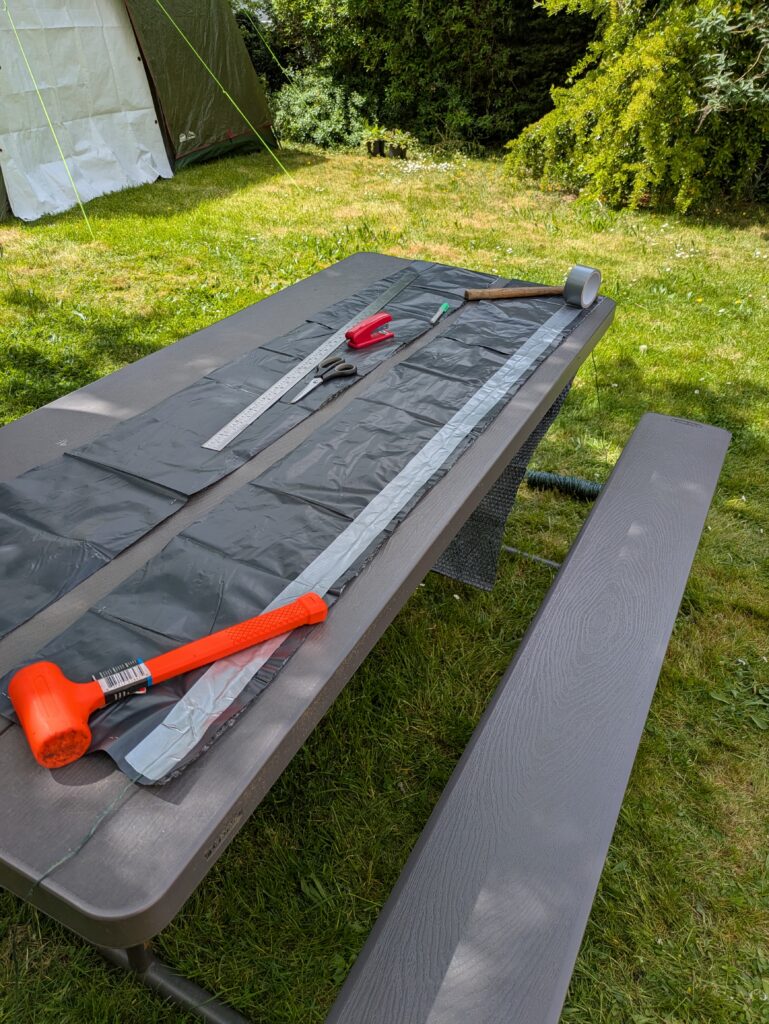
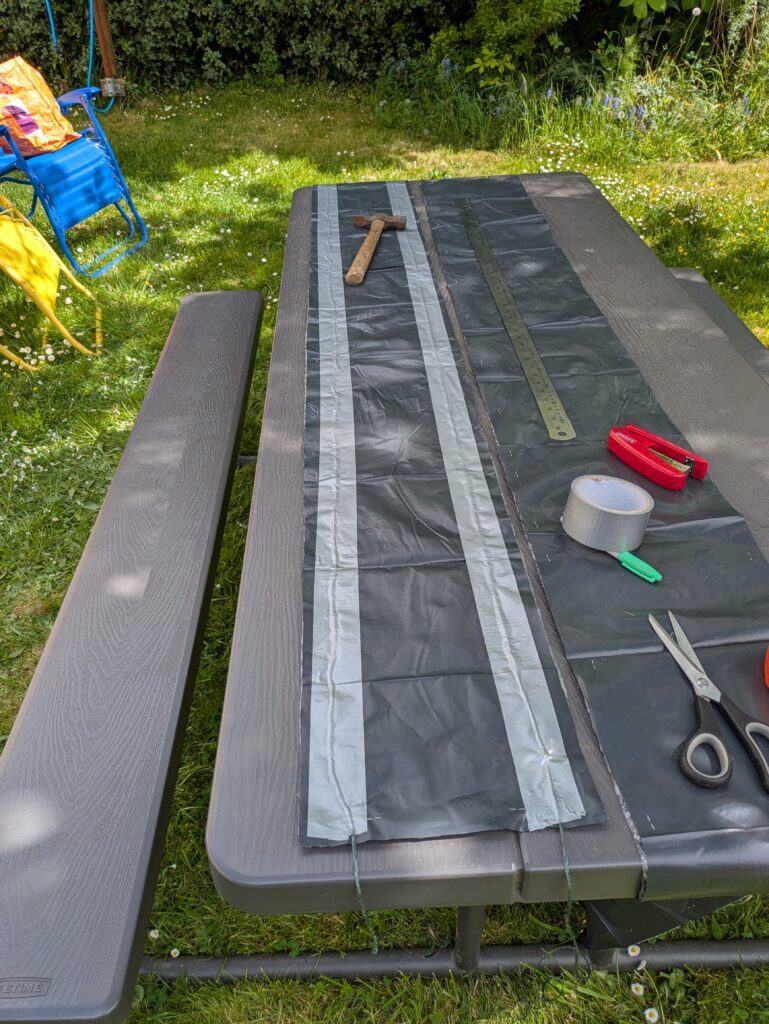
OK, now you should have the two strips stapled and it’s time to attach the string. Starting at the end of one of the strips I first roughly measured two arm lengths of string (to tie the trap around the tree) and after that length I placed the string at the edge of the strip and weighed it down with a hammer. It was placed approximately 10 cm from the long edge. Trying to keep approximately to the same position relative to the edge, I then ran the string along the length of the strip to the opposite edge of the table and weighed it down with another hammer to keep it taut (see photo).
OK, so this was probably the trickiest part. With the string held by the two hammers, I placed the duct tape over the string at one end of the strip and ran the tape over the taut string all the way to the other side. It got a bit creased up at the beginning, but it got better as I went along.
Unless you’re doing this on the floor or have a ridiculously long table, you’ll have to do what I did and slide the finished end off the table and bring up the end that still needs the string applied. I ran the string all the way to the end, trying to keep the same distance from the long edge and then, holding the string taut with a hammer, I stuck the tape over the remaining string and cut the tape off at the end being careful not to cut through the string too (actually I only managed this 3 times out of 4). As before, I left two arm lengths of string before cutting it.
I then repeated the whole process for the opposite side of the strip.
I then repeated the process, taping the string to the second strip in the same manner. I also put some additional lengths of duct tape at either ends and over the section where the plastic overlapped.
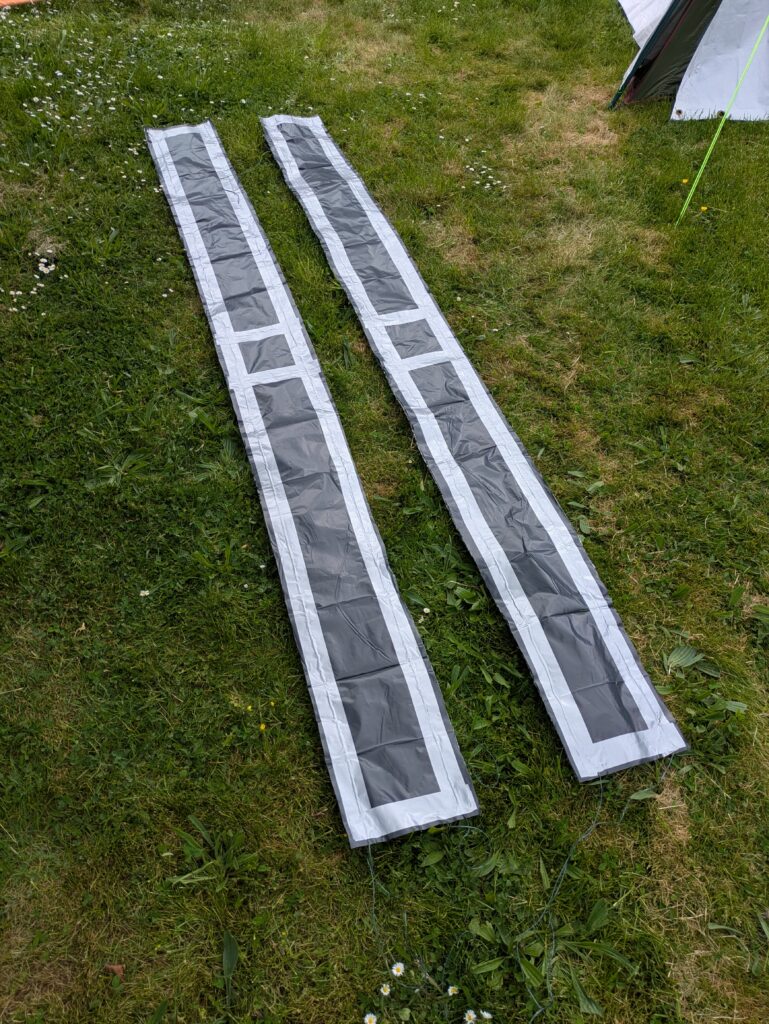
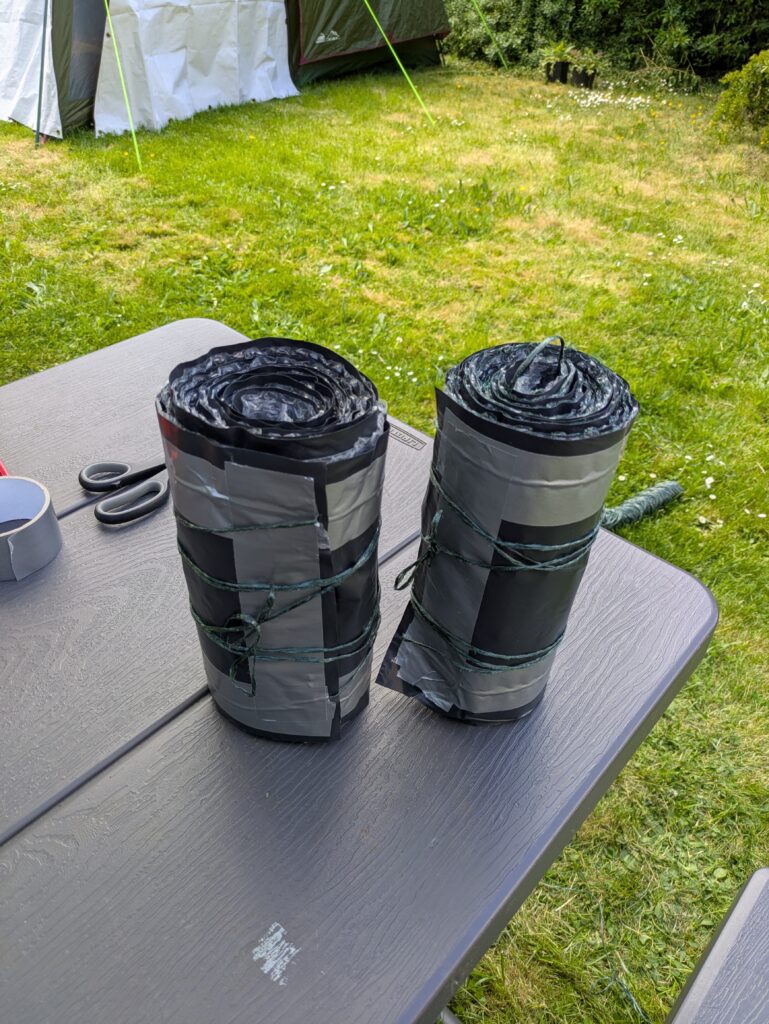
And there you have it (them) – two bark traps!
Leave a Reply